Having a web presence is no longer optional. A business website is critical whether you’re a freelancer, consultant, or small business. It will help you increase brand awareness, build credibility, increase sales, and improve the customer experience. However, building a website from scratch with no web design experience can be daunting.
Fortunately, Wix provides an intuitive and easy-to-use website builder. It is specifically designed for novices so that you can create and maintain your website without the help of a web designer or developer. Wix also supports multiple website types, including an online store, blog, business website, or portfolio.
While Wix is easy to use, you’ll need some extra help. That’s why we created this how-to post. We’ll take you through all the steps required to build a website with Wix.
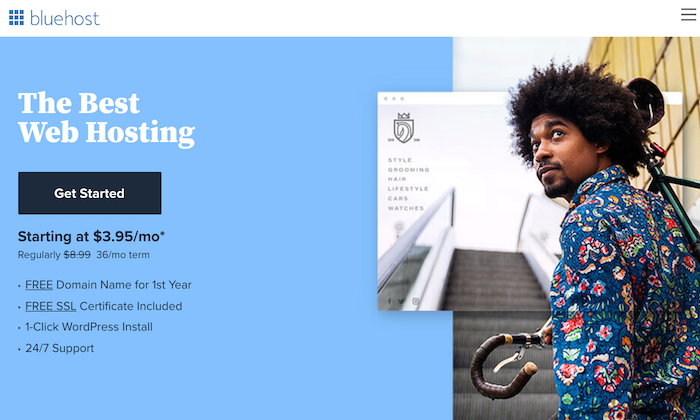
Crazy Egg’s Favorite Tools for Building a Website
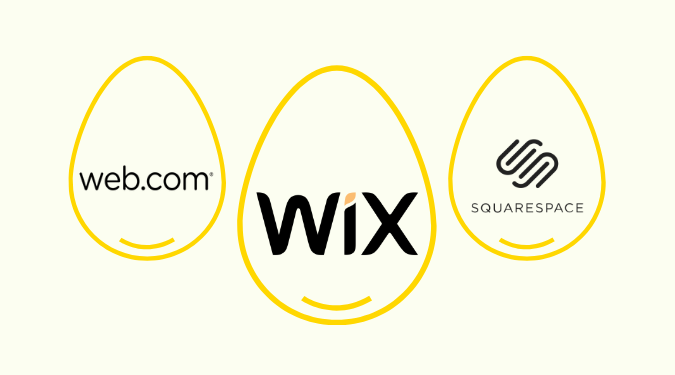
Wix is a terrific website builder, but other fantastic alternative platforms are available depending on your use case. We call these options the Golden Eggs:
Wix is our favorite website builder for its drag-and-drop editor, hundreds of beautiful templates, and affordable plans. Try Wix today risk-free with a 14-day money-back guarantee.
Squarespace is designed for creatives and offers a visually stunning platform to showcase and sell art, music, and photography. Try Squarespace free for 14 days with no credit card required.
Web.com is an fast option for building a website or online store. Use the affordable DIY website builder, or have Web.com build your site professionally. Learn more about Web.com.
More Top Website Builders
You really can’t go wrong with Wix. There’s more we like each time we review it. That said, there are a ton of other great website builders out there beyond our top three favorites. Our Daily Eggspert does an excellent job covering all these nuances and reviewing even more top website builders in the Best Website Builders post.
Without further ado, here’s how to build a Wix website, step-by-step.
Step 1 – Get Started With Wix
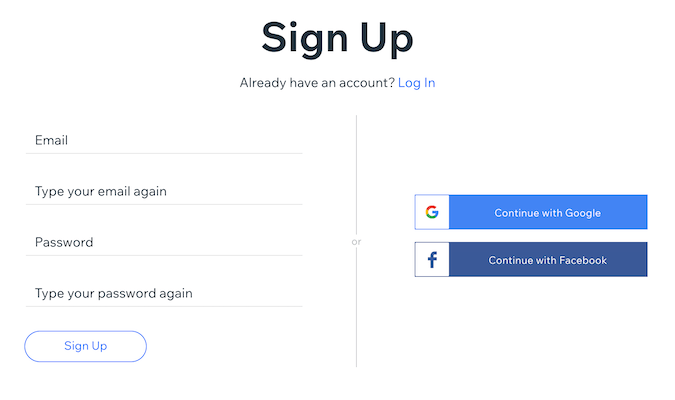
Start by heading to the Wix website and signing up for an account. You only need an email address and password to start. Then click Get Started to register your account.

Next, fill in the required information and click Sign Up to create your Wix account. The account contains everything you need to make your website, including a dashboard and Wix editor. This is the only account you need to create your Wix website.
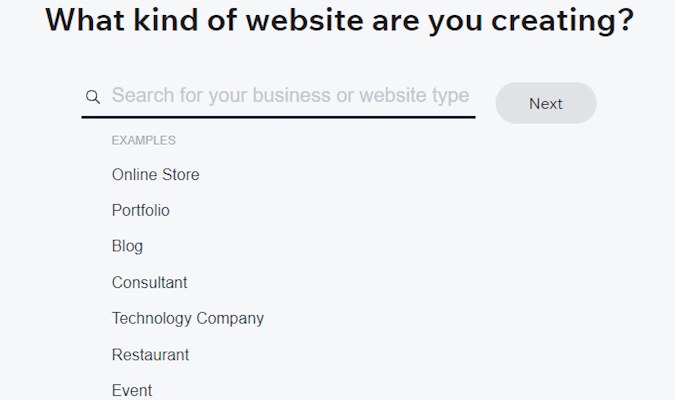
Next, Wix will ask you questions to determine the best way to create your website, starting with the type of site you want to build. This section is important since the best layout varies depending on the kind of website. Therefore, try to answer these questions as accurately as you can.
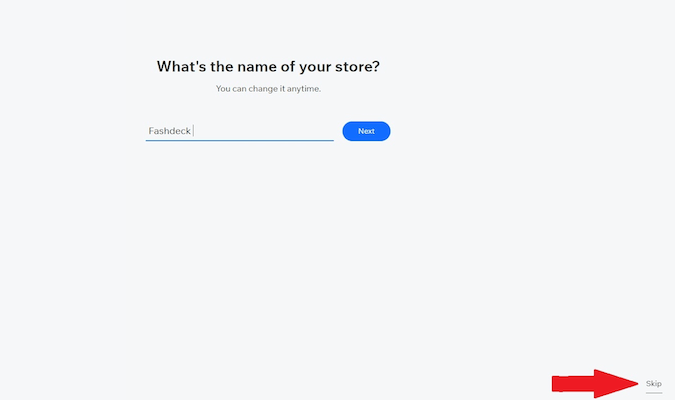
Now, enter your website name. Don’t worry if you don’t have a name yet. You can use a placeholder name and change it later. You can skip this step by clicking Skip in the bottom-right corner of your screen.
However, providing your website name helps Wix populate your site with information. As a result, you’ll have fewer details to adjust when editing your site. Finally, we have a terrific post, The Complete Guide to Business Names to help you choose the perfect business name.
Next, Wix will ask you to select the features and functionality you want to add to your website. The options include features like Forms, Bookings, Blogs, and Pricing Plans. Wix also suggests relevant features based on the type of website you selected. Tick the box corresponding to the functionality you want to add to your site.
Again, this step is optional, and you can skip it if you need help figuring out what you want your website to do. But don’t stress about choosing the “correct” features.
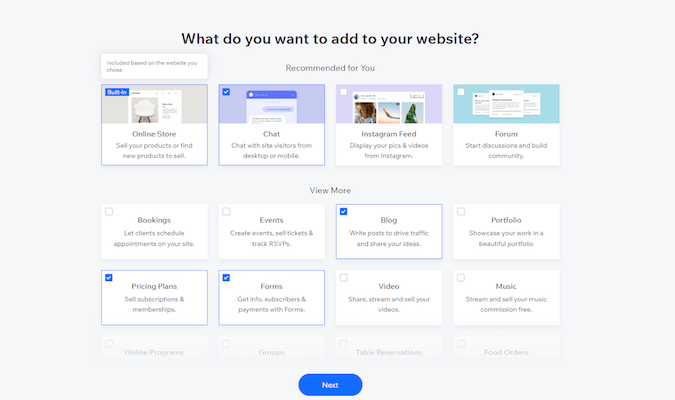
Wix lets you add, remove, or change the website features later. You’ll also better understand how the completed website will look and function if you complete this section.
Step 2 – Choose How to Build Your Website
Wix offers two options for building a website. The first option is the Wix Editor. The website builder lets you choose from 500+ templates. Then, you can customize the templates to create the website to your liking.
The Wix Editor offers more freedom to customize your website. However, it’s easy to go against web design best practices without guidance. So the Wix Editor isn’t ideal if you’re building a website for the first time or have limited to no web design knowledge.
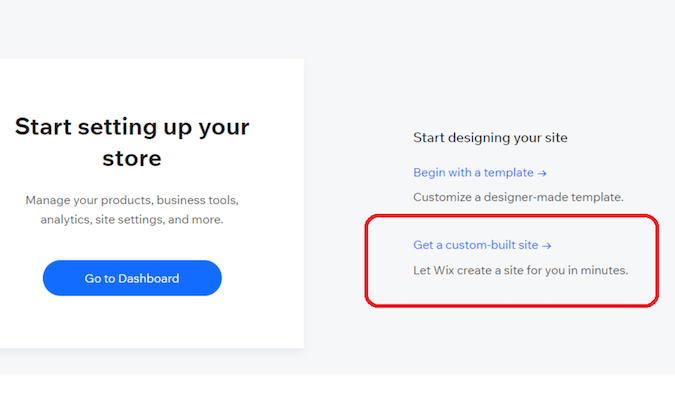
Fortunately, Wix also offers an alternative known as the Wix ADI. It is an AI-powered builder that collects information about the type of site that you want to create. Then, the AI uses this information to generate your website. Therefore, we highly recommend using the Wix ADI to make your website.
It is faster and more manageable than the Wix Editor, and you can also change enough design elements to customize your site to your liking. With these factors in mind, click Get a custom-built site to use the Wix ADI.
Step 3 – Follow the Wix ADI Prompts
Creating your website with the ADI is incredibly intuitive. You only need to follow the prompts on each page. Again, you can skip any page if you don’t have the required information.
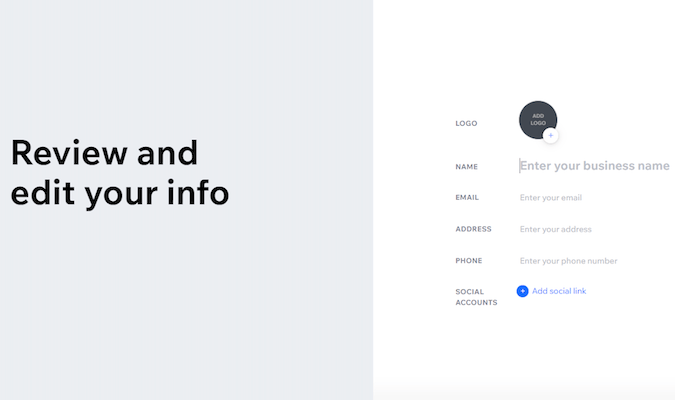
The first prompt is to review and edit the basic site information. This includes your company name, logo, address, email, phone number, and social media handles. Try to avoid skipping this step if you can help it.
Wix will use this information to customize your website. For example, this information will help Wix to create contact pages, headers, footers, and navigation menus. Therefore, you won’t need to edit or fill in this information later.
It’s also worth mentioning that Wix has a logo maker. The logo maker is just as intuitive as the website builder. First, answer a few questions about your brand and personal style. Then, Wix will create your logo.
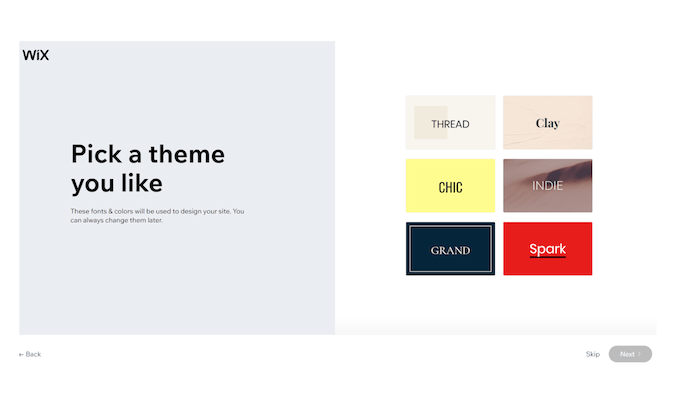
Now choose a theme. The ADI will suggest a few options. This way, you won’t get overwhelmed with thousands of options. You can also change your theme later, so don’t worry if the options seem restrictive.
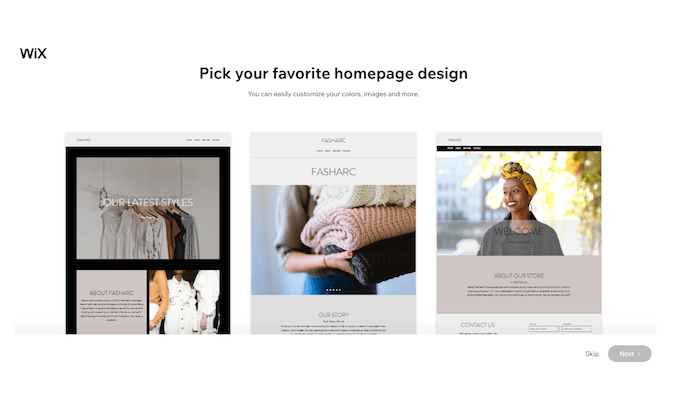
Next, Wix will recommend a homepage design based on the type of website you want to create. Again, these are limited options, but you can change the homepage later. Wix offers hundreds of homepage designs and templates if you want more choices later.
Choose your favorite one and click Next.
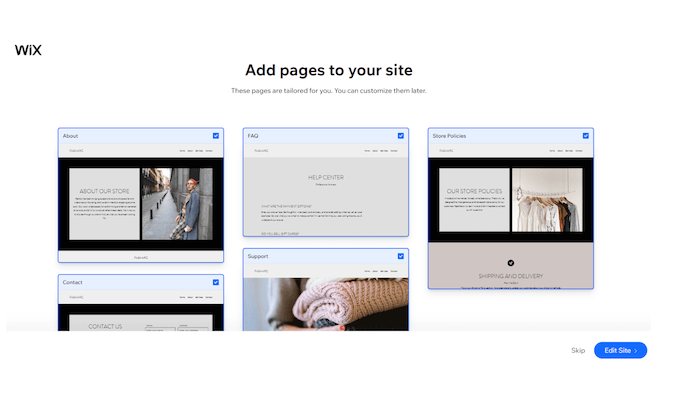
The ADI will recommend other pages to add to the website, such as About, FAQ, Store Policies, Contact, and Support. Tick the box corresponding to the web page(s) you want to add. Again, Wix recommends pages based on the type of website you’re building.
Finally, click Edit Site to get to personalize your website.
Step 4 – Edit Your Website
We’re now at the heart of building a Wix website. You can see your customization options in the top-right corner of your screen. Go through the options individually, adding and editing the elements you want.
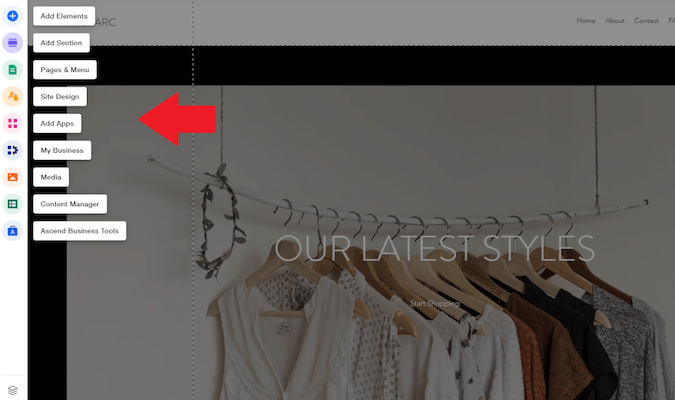
For example, clicking Elements offers design options like adding text, images, buttons, and social. In addition, there are almost infinite customization options to ensure your site looks and feels exactly how you want it.
You’ll also be using an intuitive drag-and-drop editor. Click on the element and drag and drop it wherever you like.
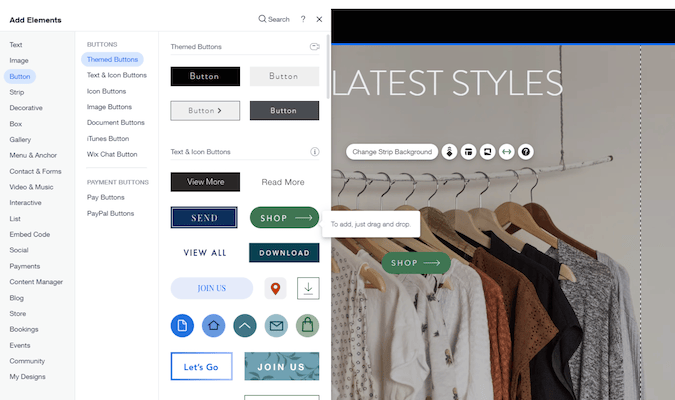
For example, say you want to add a shopping button to direct visitors to your product catalog. First, hover over Elements on the top-right of your screen. Then, scroll to Buttons to view different styles and options.
Finally, choose the one you like and drag and drop it where you want it.
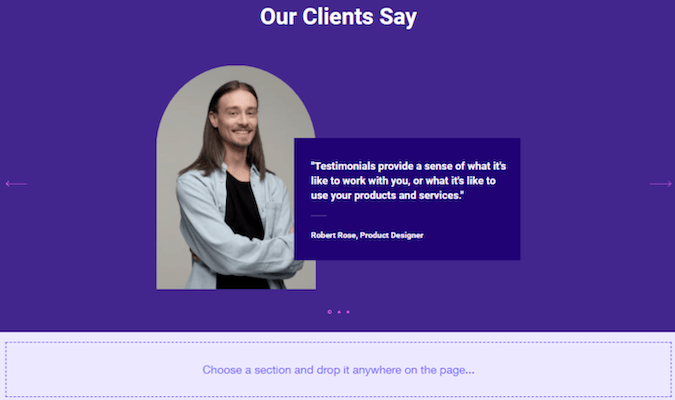
You can add new sections like testimonials, promotions, or bookings to any page. Still, you should maintain a minimalist home page. You don’t want to overwhelm visitors with too much information.
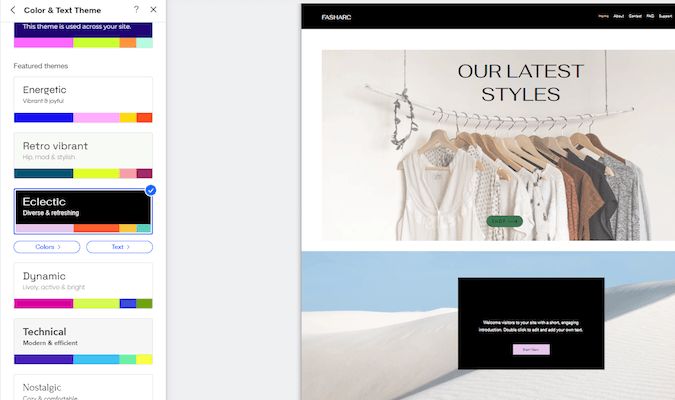
You can also change the site color and text theme. This way, you can ensure that your site colors match your image and branding. You can also adjust the text color and background color to improve readability.
For example, creating contrast between the text and background color ensures that your site sticks with your brand colors, but the text is still readable. Wix also provides multiple fonts to enhance readability.
You can also add apps, payment options, and media and tweak virtually any aspect of your website.
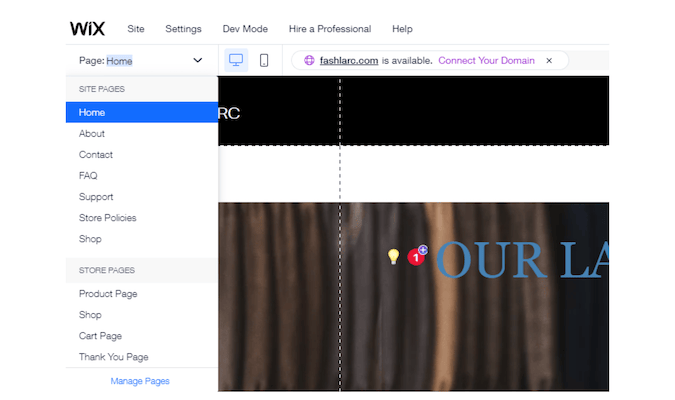
Another more logical way to edit your site is to choose one page to start with. You can do it by clicking Page on the top-left corner of the menu bar. Then, select the page you want to edit.
Now, click on the part of the page you want to change and click the settings icon to view your customization options. You can edit and change most things, including the element’s color, position, or size.
The best part is the changes happen in real-time. This way, you can see how the changes affect your website. You can also undo changes if you’re unhappy with the site’s appearance.
For example, you can click the Header and then select Settings.
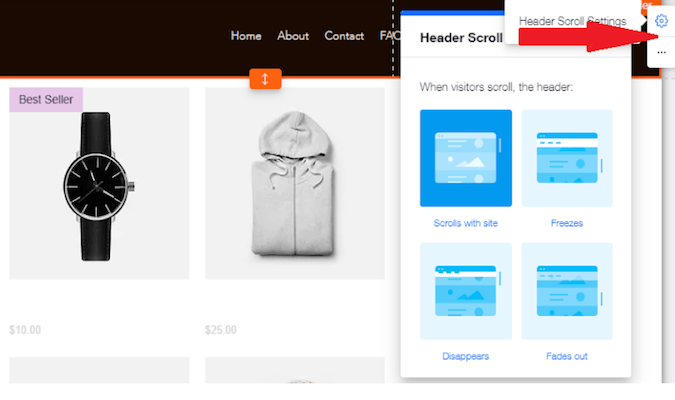
You’ll see that there are multiple design options, including
- Changing your header design
- Adding, editing, or reordering menu items
- Making the header scroll with the site, disappear, freeze, or fade out when visitors scroll the site
You can use your customization options to call attention to specific elements. For example, you can make your logo and header larger than other design elements. Similarly, you can move your logo closer to the header to highlight your brand.
Alternatively, Wix also lets you set a default element size. This option works well for creating uniform visuals. But, again, you can try different approaches to see what works.
Similarly, you can click anywhere on the background to change the background image.

You can choose your background image from the Wix image library, upload your own image, or import from stock photo sites like Unsplash or Shutterstock. You also get terrific design freedom with background images.
For example, you can upload a video background to create a visually striking webpage. Alternatively, you can set up hover effects on your images to make your website more interactive. Visitors will enjoy seeing your website react to their actions.
Repeat the process for all your pages, changing and editing the different parts to fit your vision.
Step 5 – Edit Your Website Content
You can populate your site with content once you’re happy with how the website looks. Wix makes this process easy, even suggesting text ideas for your web pages. For example, Wix can generate welcome content which you can edit to fit your business.
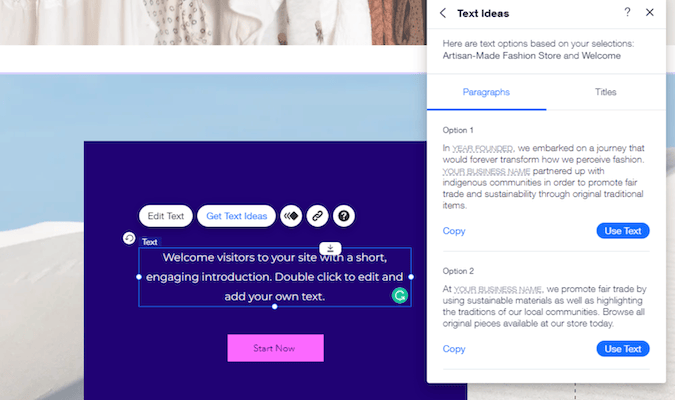
You can generate content for just about any part of your website, including About, Mission, Store Policies, and FAQs.
Wix offers endless customization options. It’s part of the website builder’s appeal. But don’t worry if you get stuck or are confused. You can click the Help button on any element you want to change.
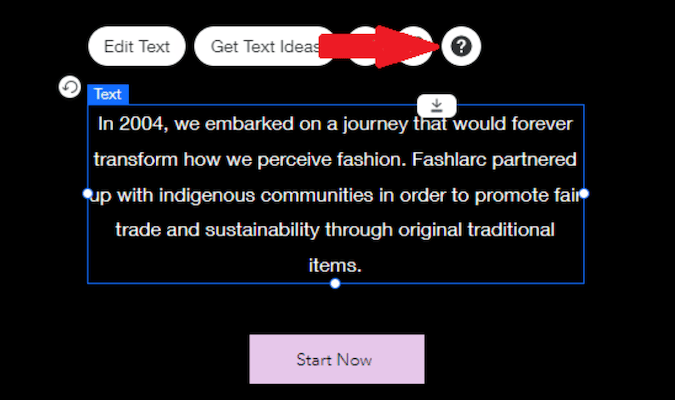
You’ll be redirected to a relevant article outlining the steps for customizing the specific element.
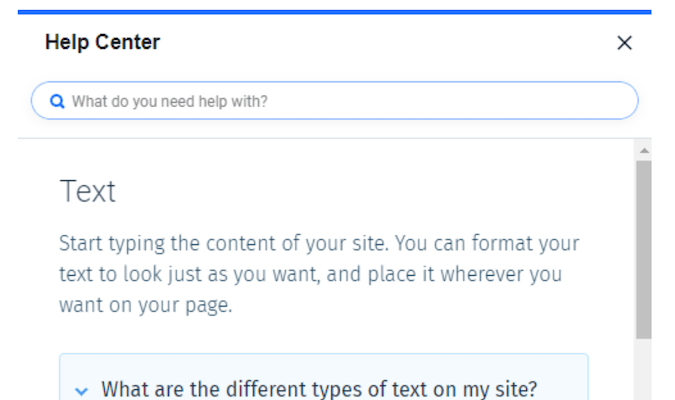
You can also access the help center from your main menu. In addition, the help center includes video walk-throughs of all Wix site builder features. So there’s plenty of help and support if you’re overwhelmed by the site builder.
Step 6 – Publish Your Site
First, preview your site to ensure you’re happy. Next, click Publish on the top right corner of your screen.
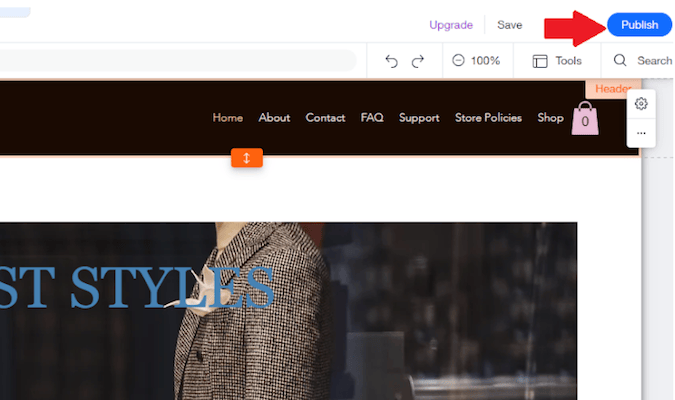
You’ll receive a message that your site has been successfully published. You’ll also receive a link to your website.
Step 7 – Consider Upgrading to a Paid Plan
Wix’s free plan is sufficient for a personal website or hobbyist blog. However, it’s not the best option for a business. If nothing else, you can’t remove Wix ads from your website. These ads can make your website look unprofessional.
You also cannot use a custom domain name with a free Wix plan. Again, your website may appear less professional than your competition. You can upgrade your account anytime by clicking the Upgrade button from your Wix account.
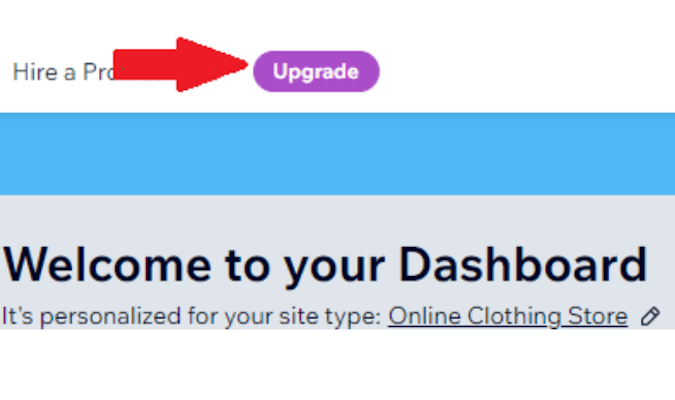
Wix offers Website plans starting at $4.50 per month and Ecommerce plans starting at $17 per month. Please note that the free Wix plan doesn’t let you accept online payments. Therefore, you’ll need to purchase an ecommerce plan if you want to sell goods or services online.