Disclosure: This content is reader-supported, which means if you click on some of our links that we may earn a commission.
Want to cut straight to the chase? Head over to Bluehost to snag everything you need (domain + hosting services) to start your blog.
We’ve launched hundreds of successful, money-making blogs over the last decade. Along the way, we perfected the process of signing up for a blogging platform, buying a domain name, building a website, and launching with ease.
Aside from a few dollars per month and an idea, all you need is time, patience, and know-how.
While we can’t help with money or time, we’ve got the last one covered. In this guide, we’ll walk through every step to building a professional blog and making real money online. Follow along to learn everything you need to know to start a professional blog the right way.
How to Start a Blog: Your Quick-Launch Guide
- Sign up for a one-year plan with Bluehost
- Snag your free domain name if you haven’t already
- Install WordPress on your new website
- Get a free or low-cost theme
- Configure your site
- Start writing
- Make money!
And that’s it! In just seven short steps, you’ll have a brand new blog set up and ready to go.
The first four steps go pretty quickly, but the last three may take a few hours. So, keep this post open as you go through the process and come back to it when you’re ready to move on to the next step.
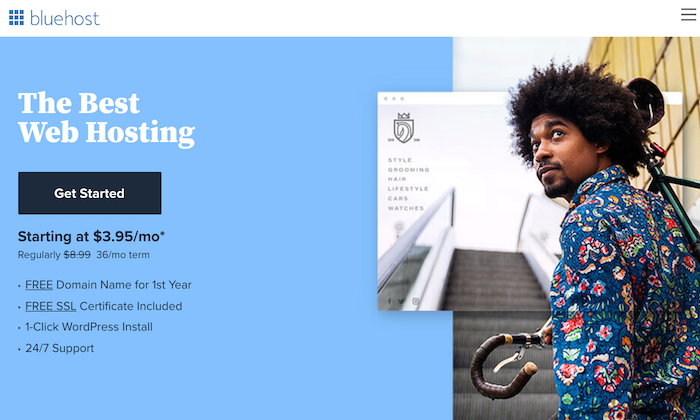
Bluehost Web Hosting
Powerful Web Hosting
Bluehost is the most trusted WordPress web hosting service on the market. Plus, get a free domain name for the first year, five email accounts, and one-click WordPress installation at no extra charge. Plans start at just $2.95 per month and include everything you need to start blogging like a pro.
1. Sign up for Bluehost
Before you can start blogging, you need web hosting. We highly recommend Bluehost for beginners. It’s one of only three hosting providers recommended by WordPress (which we’ll talk more about later).
It offers a unique ratio of affordability to comprehensive features and ease of use. There’s a step-by-step guided process to help you set up your first WordPress site so you’re never left guessing what to do next. Plus, every package comes with various other benefits, including:
- A free domain name for the first year
- 24/7 customer service (great for beginners)
- 50 GB of storage space (unlimited on higher tiers)
- One-click WordPress installation
- A drag-and-drop site builder if you want it
- Extremely competitive prices
If you’re just getting started, the Basic Plan is more than enough and an excellent place to start. It’s $2.95 per month if you sign up for three years in advance. If you’d rather not make that long of a commitment, prices start at $4.95 per month paid one year in advance.
Now that you know why we love Bluehost, let’s walk through how to sign up.
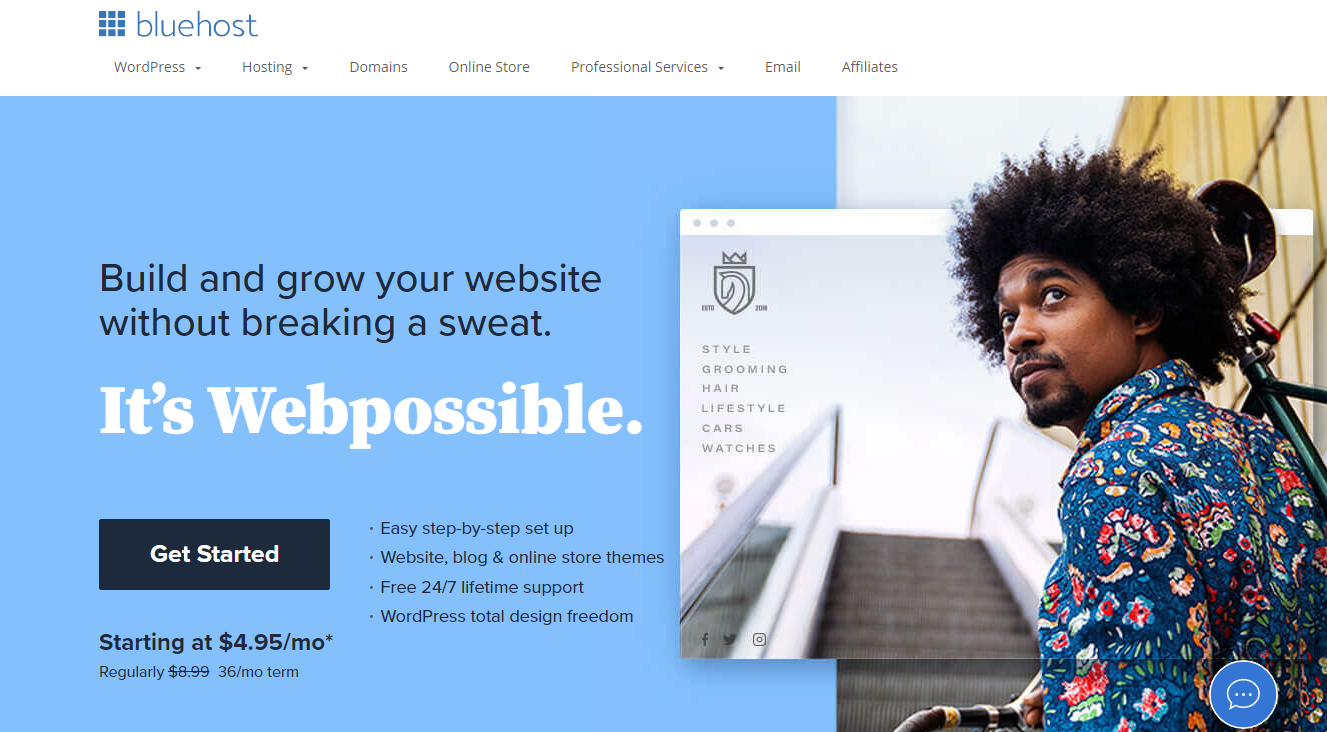
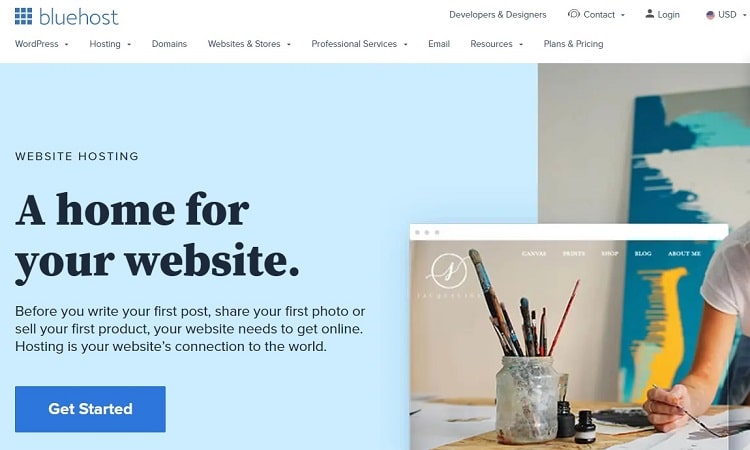
Step 1a: Go the the Bluehost Website
Go to Bluehost.com and click the green “get started now” button.

Step 1b: Choose Your Plan
Bluehost offers four hosting plans, including:
- Basic — $2.95 per month (perfect for most users)
- Plus — $5.45 per month
- Choice Plus — $5.45 per month
- Pro — $13.95 per month
These introductory prices change from time to time, so keep that in mind.
You can choose the Basic Plan for now. It includes everything you need to start a blog. And it’s incredibly affordable. You can always upgrade to a more expensive plan if you need to down the road.
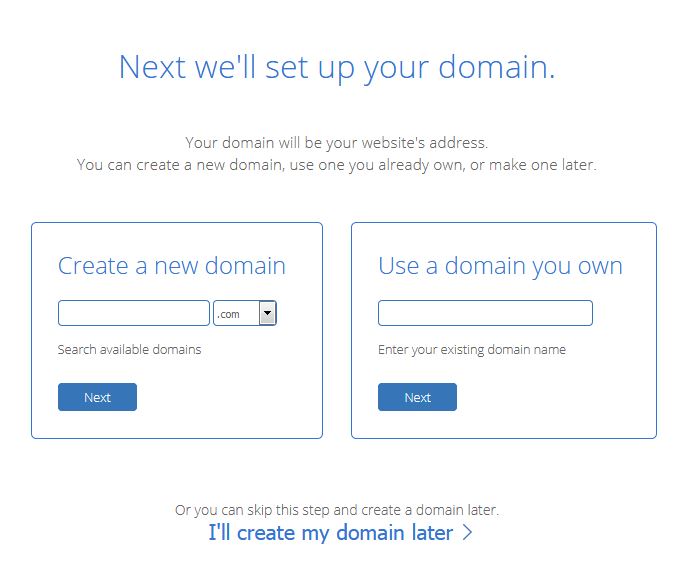
Step 1c: Choose a Domain Name
Now you’ll need to connect your domain name. This is where your blog lives on the internet. How people find you online.
For example, our domain name is crazyegg.com.
If you already have a domain, you can enter it here.
If you don’t have a domain name, you can register a new one with Bluehost for free for the first year. Simply enter the domain name you want to use to start the registration process.
You can also skip this step and come back to it later, which is nice if you’re not sure what name you want to go with just yet.
Step 1d: Create Your Account
Next, Bluehost asks for your personal information. This is just to let them know who’s creating the account and how to get in touch with you if they need to.
After that, you’ll fill out your payment details. Then, you’ll have the option to choose between several add-ons.
Step 1e: Choose Hosting Add-Ons
Here, you have five options to choose from, including:
- Domain privacy + protection
- Codeguard Basic
- Bluehost SEO tools
- Microsoft 365 free trial
- SiteLock Security Essentials
The good news is you don’t need any of them except domain privacy + protection. This keeps your personal information (i.e., your email, phone number, and address) off the public record.
Which… is smart if you’re using personal information to register your new domain name. The add-on works by replacing your information with Bluehost’s business information instead.
If you’re registering on behalf of a business, it’s not as important since all of your business’s information is online anyway. So, if you’re using personal information (including your own phone number and address), we recommend opting for domain privacy + protection. If you’re using business info, it’s not necessary unless you want it.
As for the other add-ons you see here, you don’t need them—you can get higher quality and more affordable alternatives elsewhere.
Step 1f: Click “Submit” and You’re Done
After you fill everything out, review everything to make sure it’s accurate. Then, click the “submit” button to complete the signup process. You should now have an email from Bluehost confirming your new account
If you don’t have a domain name, buying one is the next step.
However, if you do have one and you configured it in step 1c, you can jump straight to installing WordPress on your domain.
2. Get Your Free Domain on Bluehost (If You Haven’t Already)
Once you have a Bluehost account, you can easily get your free domain name now if you skipped it when setting up your account.
Step 2a: Login to Bluehost
Go to the control panel. Since you already have an account, enter your login details here.

Step 2b: Click “Domains”
You’ll find “domains” on the left side of your screen.

Step 2c: Search for Your Desired Domain
Run a search to make sure the domain you want isn’t already taken.

Step 2d: Add it to Your Cart
For demonstration purposes, we searched “awesomeblogtomakemoney.” Bluehost returned results letting us know all the options available, along with some alternative domain names to consider.
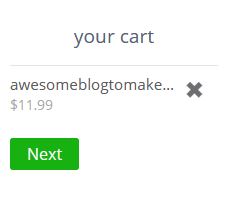
If the domain you want is available, add it to your cart by clicking the green shopping cart icon to the right of the domain name.

Once the domain you want is added to your cart, a window displaying your cart will open on the right side of your screen. Click “next.”
Step 2e: Review Registration Details
In this step, Bluehost asks you a few questions, including whether you want to add domain privacy and if you’d like your domain to renew automatically.
We highly recommend saying yes to both options so you can keep your private information secure and not have to worry about renewing your domain name every year.
When you’re done, click “add to cart.”

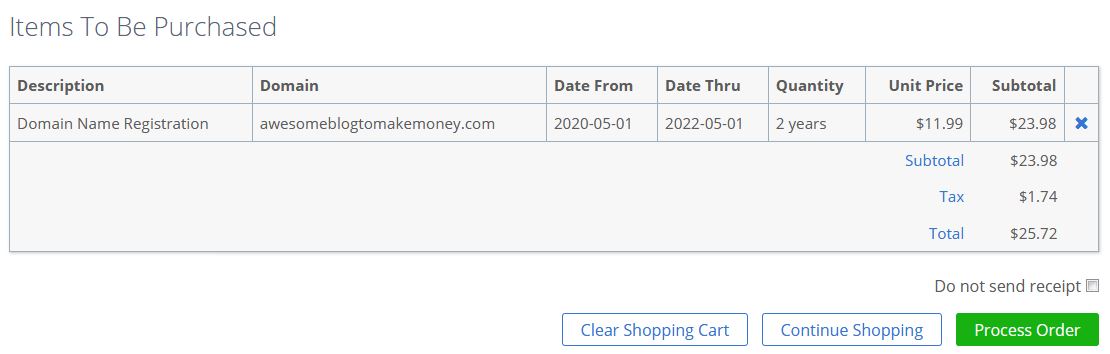
Step 2f: Enter Your Payment Info
If you signed up for an annual hosting account through Bluehost, your new domain name is free for the first year. Note: you still need to enter your credit card information for renewal next year.
If you already have your payment information in your account, all you need to do is confirm it. If you want to add a new credit card or another payment method, you can add that as well.
When you’re all set, confirm your purchase and click “process order” to buy your domain.
3. Install WordPress
Now that you have a domain and web hosting, you’re ready to set up your blog. There are several platforms you can use, but WordPress is the most popular and user-friendly.
It also features excellent support, so you can get answers from experts when you need to troubleshoot.
Fortunately, the WordPress installation process through Bluehost is very easy. Here’s what you need to know.
Step 3a: Login to Bluehost
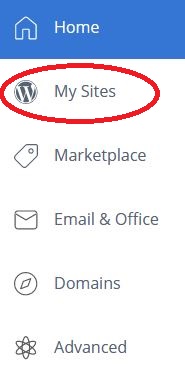
By now you should be pretty familiar with your Bluehost dashboard. So, log into your account and find “My Sites” on the left side of your screen.
Step 3b: Click “Create Site”
This will take you to a new page with the option to create a site. Click “create site.”

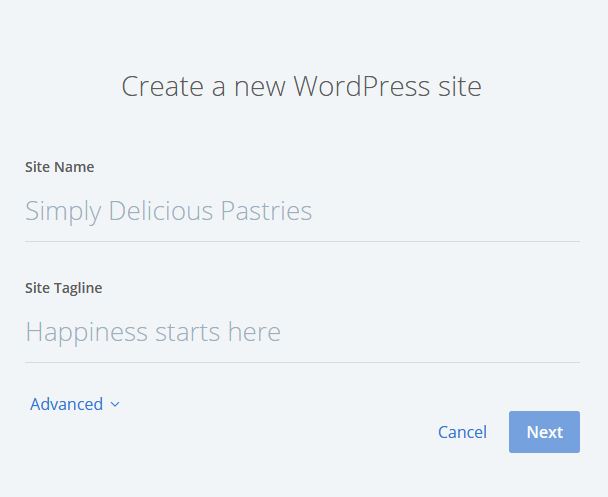
Step 3c: Fill in Your Website Info
Now, you need to enter some basic information about your website. Fill out the “site name” and “site tagline” and then click “next.” Don’t worry about this too much. You can always change it later on.
Step 3d: Select Your Domain Name
At this point, you should already have a domain name. So all you need to do is open the domain drop-down menu and choose the correct domain.

Step 3f: Click “Next” to Install WordPress
Once you click “next” the Bluehost auto-installer automatically installs WordPress on the domain you chose.
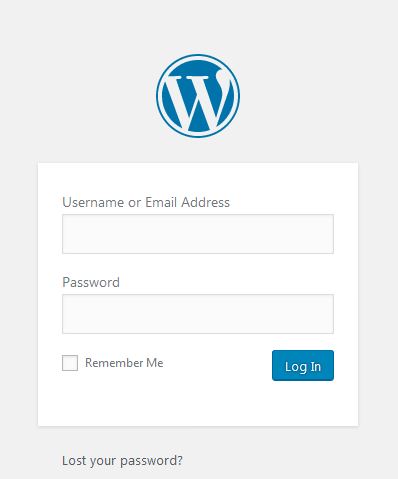
Next, there’s a confirmation page letting you know that WordPress was installed successfully. Click “login to WordPress” to access your site’s backend.
Note: once you’ve installed WordPress, you can always log in to your blog through your domain. To do this, you’ll need to go to your login URL, which will look something like this:
http://www.yourdomain.com/wp-admin
From here, enter your username and password. When you’re ready to move to the next step, make sure you’re already logged in to your WordPress account.
4. Get a Free or Low-Cost Theme
Now you’re ready to install a theme. This is what controls how your blog looks.
Think of WordPress as a blank slate — with four white walls and no carpeting — and your theme as the wallpaper, paint, carpet, furniture, and decorations.
Without a theme, your WordPress blog looks pretty bare. Fortunately, there are hundreds of free themes. You can also purchase a premade or semi-custom theme without spending hundreds of dollars (or even thousands to hire a developer).
Alternatively, you can browse the Marketplace inside Bluehost to find a selection of themes. Go to your main account page and click “Marketplace” on the menu on the left side of the screen. Then click “WordPress Themes.”

This will take you to a list of themes with a variety of price points. You can click “live preview” to see how each theme looks in a live environment.

However, you don’t have to limit yourself to Bluehost’s offerings. There are numerous places to find free and low-cost WordPress themes. In fact, part of the fun of launching a WordPress blog is finding the perfect theme.
If your budget is tight, it’s perfectly okay to start out with a free theme. To find lists of free themes to browse, just google “best free WordPress themes.”
This turns up dozens of lists with links to themes you can install without paying anything at all.
If you want something more customized, you can also check out some affordable themes offered by talented WordPress developers. For example, Theme Forest offers thousands of WordPress themes for as little as $2.
Themeforest (Now Envato Market)
Premium WordPress Themes
Choose from thousands of premium WordPress themes spanning hundreds of industries and styles with intuitive one-click installation.
You can filter results to find a theme that fits the mood and content featured on your blog.

Other places to check out include Elegant Themes and Studio Press. Have fun with this step — and keep in mind you can always change your theme as your blog grows.
You should also keep in mind that you can fully customize any theme you install. You can change the colors, fonts, and images so don’t get too hung up on those. Instead, look for a theme that matches the functionality you want your blog to have.
5. Configure Your Site
After you install your theme, it’s a good idea to configure it to suit your needs. This means customizing your settings and installing plugins to add features that make your site more attractive to your readers.
You can compare WordPress plugins to apps on a smartphone. Not everyone needs or wants the same apps. But, you can install apps that improve your user experience and make your phone more useful.
With 50,000+ free and paid plugins available, it’s easy to get overwhelmed by WordPress plugins, so don’t feel bad about going slowly with them.
Think about plugins that give your blog the features you need without getting too fancy. Maybe you want to add a contact form so readers can get in touch with you. Or you might want to link your Instagram photo gallery to your blog so visitors get a glimpse into your everyday life.
Here are our top WordPress plugin recommendations for new blogs:
- WPForms – This is a basic contact form that lets readers reach out to you. There’s a free version and a paid pro version.
- MonsterInsights – This plugin connects your blog to Google Analytics so you can track how many people visit your site, how long they stay on specific pages, and where your traffic comes from.
- Yoast SEO – Yoast SEO is a plugin that helps you optimize your blog for search engines so people can find your site.
- Akismet Anti-Spam – If you plan on blogging, an anti-spam plugin is a must. As soon as you hit “publish” on a blog post, you can expect spam to follow in short order. Akismet Anti-Spam offers both a free and paid version to help keep your blog spam-free, so your blog posts don’t get clogged up with spammy comments and bogus links.
- Smush – Content may be king, but images are also an important part of blogging. Unfortunately, optimizing images can be a tedious process, especially if you’re not design-savvy. The Smush plugin optimizes and compresses images for you, so they look their best on your blog.
6. Start Writing
Your blog is set up, WordPress is installed, and you have a killer theme and some must-have plugins that pull everything together. Now you’re ready to start blogging.
This is perhaps the most important step.
Why? The reality is that most blogs fail. Most bloggers write once or twice, fail to see traffic, and then give up because they aren’t seeing results right away. We’re not going to lie. Blogging, showing up in search results, and performing well on social media take a lot of time.
We’ve been at this for years. And years. And years.
The truth is, like any side hustle, blogging is hard work. Success takes effort as well as regular commitment — especially if your goal is to make money from your blog.
Another thing to remember: you don’t have to be the best writer in the world to succeed. Instead, you need to focus on two things: (1) providing value, and (2) solving problems.
This is exactly what Marcus Sheridan did with his swimming pool installation and maintenance blog — the most visited blog of its kind in the world.
Admittedly, swimming pool installation isn’t the sexiest topic on the planet, and if you’re wondering how on earth a blog like that becomes successful, you’re not alone.
Sheridan has been the subject of numerous content marketing case studies, and his story is a fascinating one.
Facing the collapse of his business, Sheridan knew he had to do something to generate new business.
Without a big marketing budget, the easiest and fastest way to get eyeballs on his website was to start answering some of the most commonly asked questions he’d received from customers over the years.
In short, he started blogging. Sheridan isn’t a professional writer, but he is an expert on swimming pools. By blogging about a subject he knew inside and out, he was able to offer his site visitors value.
He gave his knowledge away for free.
But he was also solving problems. When a homeowner has a problem with their pool, they’re likely to try fixing it on their own before calling a costly repair service. So when Sheridan started blogging answers to FAQs, he drove traffic to his site.
In fact, according to Sheridan, just one blog post — an article about how much it costs to install a fiberglass pool — generated $2.5 million in income for his business.
More than 10 years after he started blogging, Sheridan says he no longer considers his business a pool business. Rather, his main business is content marketing. He generates sales by continuing to blog on a regular basis, about two to three times a week.
Sheridan’s story demonstrates the importance of regular blogging. In addition to consistency, it’s also critical to offer readers value. What are you knowledgeable about? What kind of expertise can you share with the world?
This is what your blog should focus on.
7. Make Money!
Once you start adding content, you can monetize your blog. There are several ways to do this, including freelancing, Google Ads, and affiliate marketing.
Freelancing
If you’re just starting out, you probably want to start making money right away. Depending on your area of expertise, you can offer freelance services that generate extra income.
This strategy works well for certain professions, such as writing, web design, and graphic design.
For example, a web designer can add a portfolio page to their site and then create blog content around design. Some potential blog topics might include:
- 10 Design Elements Your Website Needs
- How to Make Your Website Stand Out
- Colors that Make People Visit Your Website
- How to Create a Website for $100 or Less
- 5 Reasons Your Business Needs a Website
By creating valuable and problem-solving content, a web designer, writer, or graphic designer can draw visitors to their site and offer a pitch for their services at the same time.
If you go this route, include links to your services page in the body of your blog posts, and then add a call to action at the end of every post so readers know how to purchase your services.
Google Ads
You can also generate income by adding advertisements to your blog. One of the easiest ways to do this is to install Google AdSense.
This allows you to sell space on your blog to advertisers. When visitors click on those ads, you make money.
To get started, sign up for an AdSense account. To make it easier, you can use your existing Gmail account to sign up. From there, you have to wait for AdSense to approve you.

Note that your website should be at least six months old before you apply to AdSense. Otherwise, Google will probably reject your application.
When you’re approved, your next step is to log in to AdSense and retrieve your ad code. Then, install it on your website. All it is is a piece of code you add to your website.
AdSense gives you the option to place ads on your site manually or you can opt-in to auto ads. If you choose the automated option, Google places ads for you in the best location based on previous ad performance.
The first method gives you more control over ad size and placement, but the auto option is good for beginners who aren’t comfortable dealing with code or anyone looking for a faster way to add Adsense to their blog without manually pasting a piece of code in every time you want to display an ad.
Affiliate Marketing
Affiliate marketing is similar to running AdSense on your blog, except you earn a commission on sales generated by visitors clicking on a product link on your site.
There are several methods for making affiliate marketing work, but Amazon Associates is one of the most popular. It’s easy to use, and Amazon sells just about anything you can think of.

However, you don’t necessarily want to sprinkle a bunch of random product affiliate links on your blog.
Why? If they lack a connection to the subjects you typically post about, you’ll probably just end up confusing (and maybe even annoying) your readers.
To avoid this, feature affiliate links that make sense based on the things you blog about.
When you get more familiar with affiliate marketing, you can branch out to other affiliate marketing opportunities, including links for services. These are things like email hosting, webinars, and content marketing.
For example, if you’re a freelance writer, you might want to write blog posts about how to optimize sales writing for search engine optimization (SEO). This is a perfect opportunity to monetize your posts by becoming a BeRush affiliate.
BeRush is the affiliate marketing program for SEMRush, a leading internet marketing, and visibility management platform. By signing up with BeRush as an affiliate marketer, you could earn a 40 percent commission on any sales your site generates.
The Key to Successful Blogging
Congrats! If you’ve followed the steps above, that means you successfully started your blog.
The key to generating success (and income) however lies in two important things:
- Community. As you write and publish, you need to keep in mind who you’re writing and publishing for. It’s not enough to send your words out there. You also need to make sure that you have a dedicated audience of readers who are hungry for what you write.
After all, a blog without readers (and income) is just a hobby. If you want to generate income, you need traffic. So always ask yourself: Am I doing everything I can for my community? Am I engaging them enough with my content? - Writing, writing, and more writing. You need to write consistently and often if you want to succeed in blogging. Your writing should also be high-quality too. That means making sure that your facts are correct and the grammar is mostly legible.
The best part about blogging is that if your writing is good then people will come to you. From a handful of loyal readers, you can start scaling and finding more and more who will be willing to buy your products, or click on your affiliate links. It all begins with writing though.
Start Making Money from Your Blog Today
Blogging is a low-cost way to start earning extra cash right away. If you’re willing to come up with a regular posting schedule, you can set up a blog in minutes and start earning immediately.
Bluehost Web Hosting
Powerful Web Hosting
Bluehost is the most trusted WordPress web hosting service on the market. Plus, get a free domain name for the first year, five email accounts, and one-click WordPress installation at no extra charge. Plans start at just $2.95 per month and include everything you need to start blogging like a pro.
Sign up with Bluehost to get started writing your own six-figure success story today!