Disclosure: This content is reader-supported, which means if you click on some of our links that we may earn a commission.
A favicon is the small icon beside your site’s name that appears on your browser tab or in Google search results. If you’re a new WordPress user and want to learn all about creating and adding a favicon to your WordPress site you’ve landed in the right place. It might seem like a daunting task at first, but once we walk you through the step-by-step process the end result will be a beautiful favicon that adds to the user experience of your website you can be proud of. Let’s dive right in.
Why Adding A Favicon To Your WordPress Website is Worth It
Though the name might sound a little funny, adding a favicon to your website is a great way to help your brand stand out and be memorable.
New and previous users can point your website out in search results faster and easier when there’s a favicon attached to your search engine results, browser bookmarks, or an open tab from your website.
Having one also helps with navigation by making it easier for anyone with lots of tabs open to locate your specific website. When users are navigating tabs or bookmarks and looking for your website, you don’t want to be the one in the bunch that’s stuck with the generic— and less visually appealing— icon WordPress puts in place in case you don’t upload a favicon.
In short, not having a recognizable favicon is a great way to get lost in the shuffle.
The Investment Needed to Add A Favicon To Your WordPress Website
Thankfully, creating and uploading a favicon can be done for free, and in a matter of a few minutes. You can either find an icon online to use as your favicon, or you can create one using Canva for free.
Don’t worry, you don’t have to be a design genius to create a favicon you can be proud of. To upload a great favicon that adds to your user experience, you’ll first have to design your favicon using favicon best practices, then upload it to WordPress either through its Customize feature or through a plugin. Let’s get into the details of it all.
6 Steps to Add A Favicon To Your WordPress Website
Before we begin, let’s start with ensuring you get reliable WordPress hosting, in case you haven’t already done so.
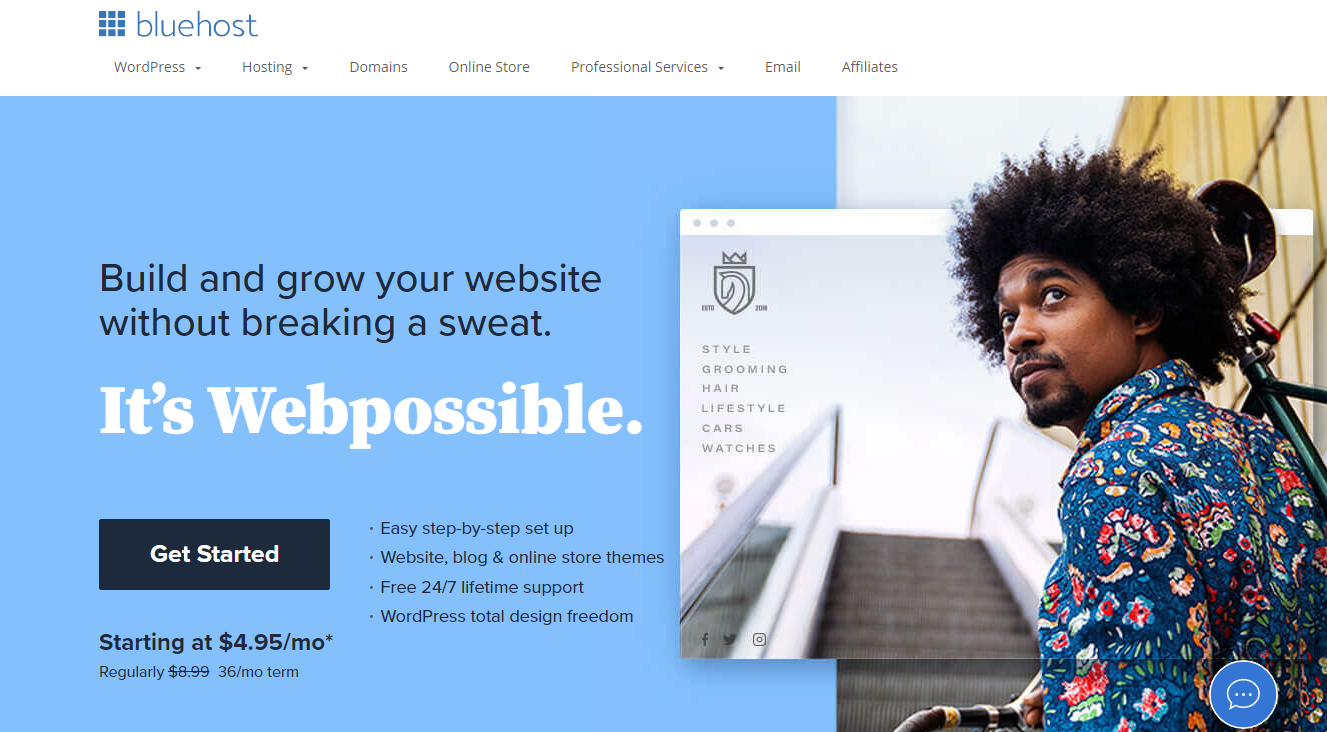
#1 – Sign Up For Reliable WordPress Hosting
If you’re starting a website with WordPress, you want to make sure you find a reliable web host at a good price point. If you’re already done that, you can skip this section and move on to the next step.
If you haven’t yet signed up for hosting, you’ll want to check out our list of the top WordPress hosting providers to make your best choice.
Want to know what our top choice was? Hostinger, because it comes with everything you need to get started, including a free domain name and automatic updates.
#2 – Create A Favicon With Canva
The very first step to uploading a distinguishable favicon is creating one that pairs well with your website’s branding. You might think “my website doesn’t really have any branding.” But that’s where we would beg to differ.
Every website has its own brand, even if you didn’t go out of your way to create one. If your website is a simple creation of simple pages and minimal to no colors, then that ends up being your brand. Choosing a favicon that matches your website’s visual brand will help you keep things cohesive, professional, and pleasing to the eye.
Now, how can you create a favicon for free? The simple answer is Canva. As a free design tool, Canva makes it ridiculously easy for you to create a favicon in a matter of minutes. And it’s easy too.
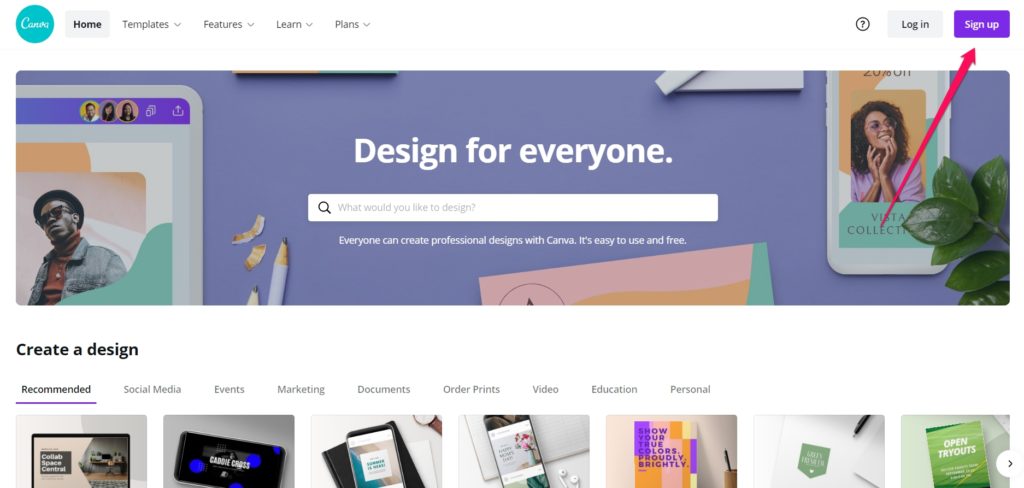
Once you visit the homepage, click on Sign Up. You’ll be able to sign up through Google, Facebook, or email. Once you’re signed up, navigate to your Canva homepage, and in the top right corner, click Create a design, then Custom size.

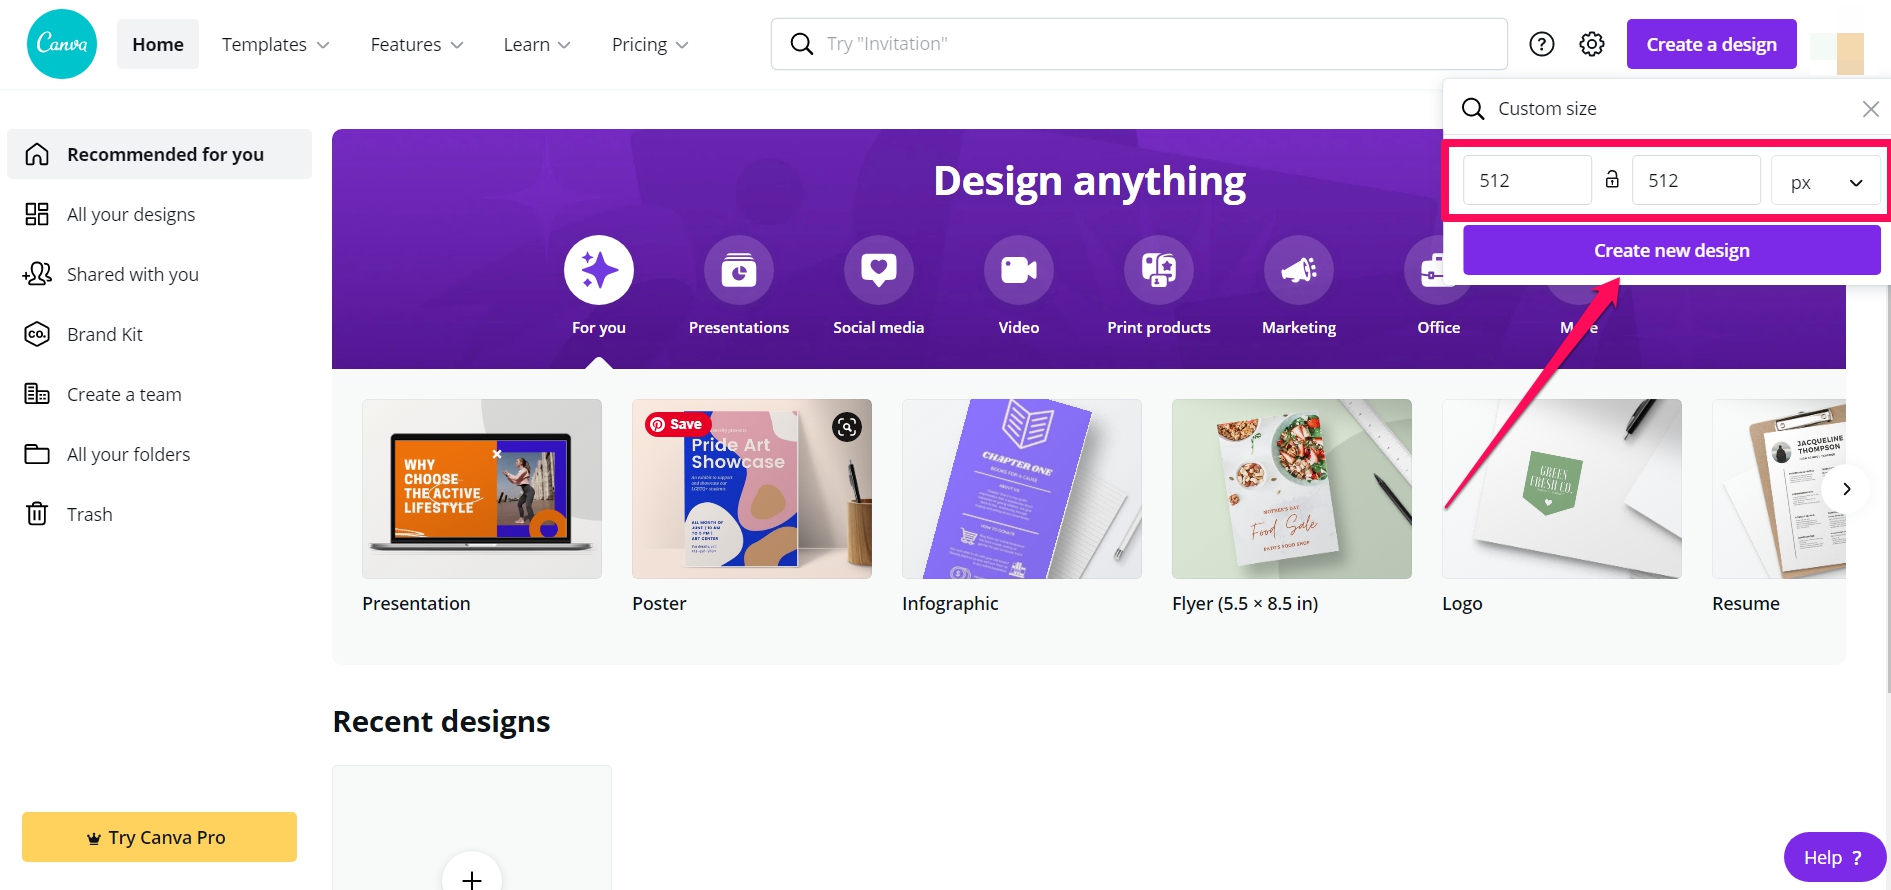
The recommended size for a WordPress favicon is 512 X 512 pixels. So enter those numbers in the height and width section and click Create new design. Make sure you create the template in pixels.
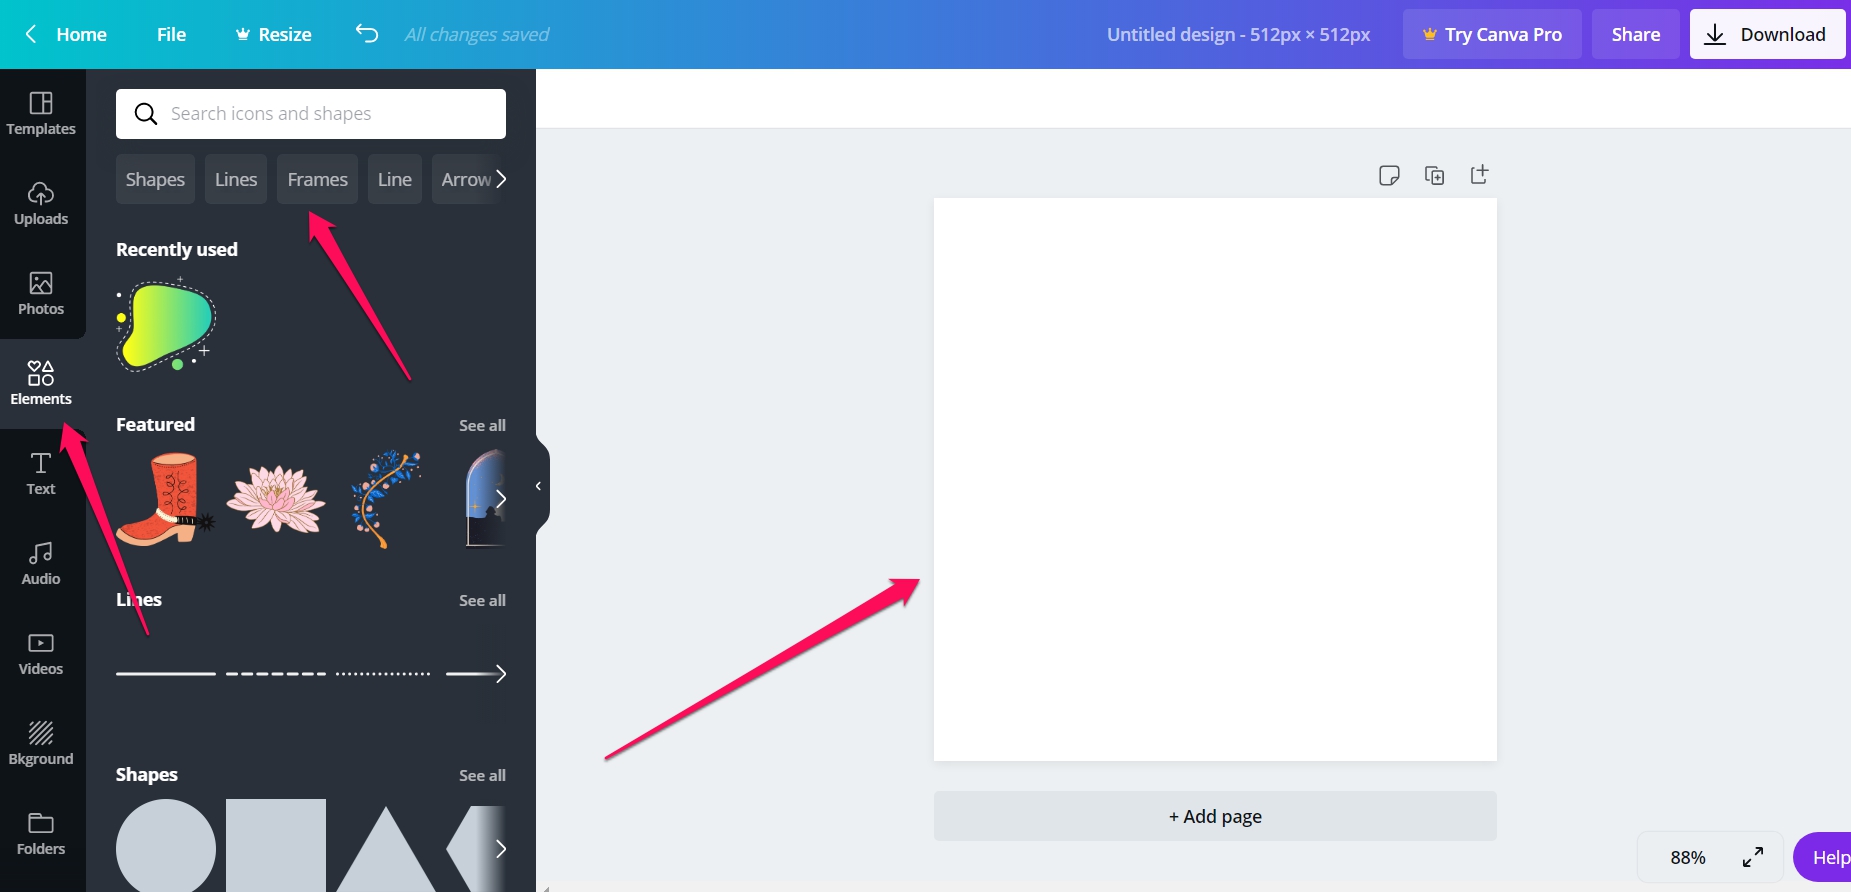
Here’s where it gets fun. What you want your favicon to look like is entirely up to you. You can make it any color or shape you want. Canva makes it easy to create a favicon with premade templates and Elements.
You can take your time designing a favicon that works for you. With Canva, you can start from scratch or use a premade shape or template and change the font, color, background, or size. For simplicity’s sake, we’re going to stick with using one of Canva’s premade templates and adding it to our board.
Once we’re happy with the results, we’re ready to save and download the file. Read on for favicon tips and best practices.
#3 – Favicon Tips And Best Practices
When you’re ready to download your favicon. Here are a few useful tips to keep in mind:
File type
When you save your favicon, make sure it’s saved as a PNG. This will ensure the quality of your favicon image and enable you to save it with a transparent background.
File background
When you save your favicon, you want to ensure you wave it with a transparent background. This way, when you upload your favicon, and it’s anything other than a solid square, it won’t have weird white space behind it. This ends up looking amateurish and unprofessional. A transparent PNG background ensures there is no white space included in your final image.
File size
Finally, you want to pay attention to your favicon’s size. The recommended favicon image size is 512px X 512px. Anything over or under these specifications and your favicon can end up looking weird, cut off, or not compatible for upload altogether.
With Canva, you can ensure you’re configuring all three once you’re ready to hit the download button in the top right corner.
Keep in mind that more advanced features like transparent background are only available to Canva Pro accounts. If you’re a new user you can sign up for a free 30-day Canva Pro account to take advantage of these advanced features.

#4 – Where To Find Free Favicon Icons
Say you don’t want to go through the trouble of creating a free favicon with Canva, what are your options?
The internet has plenty of places where you can find a favicon you like to use for free. Here are four great alternatives to designing one on Canva:
Favicons.io is a great favicon generator tool that lets you automatically create a favicon with a few specifications. You can create a one-letter favicon, or create a favicon from an emoji. You can also change the favicon background color, font, and font size.
Once you’ve finalized your favicon, you’ll have to grab files and paste them directly into the root directory of your website. It’s extremely easy to use and pretty self-explanatory. You can have a favicon up and running in a matter of minutes.
Icons8 is yet another stellar favicon generator you can use for free. You can search for icon styles by category. The great thing about Icons8 is the wide range of favicon image styles. You can find plenty of stylized or flat favicon designs that’ll fit the look and feel of your site.
When you click on a favicon of your choice, you can change the overlay, background, color, or text, and then hit the download button. Then, all you’ll have to do is upload it to your WordPress site.
Notion.vip is a great place to find a wide variety of icons you can use as favicons. Once you land on the homepage, you can search icons by type, right-click the image and save, then upload it to your site’s customizer.
Flaticon claims to be the largest repository of icons with more than 4 million images in either PNG, SVG, EPS, PSD, and BASE 64 formats.
You can search for your perfect favicon by keyword or sift through currently trending icon packs. Keep in mind that not all icons are free. To gain access to premium icons you’ll have to pay a fee.
#5 – How To Easily Upload A Favicon To Your WordPress Website
You’ve either designed your favicon or you found one online you like. Now it’s time to upload it to your WordPress site.
Once you’re logged into your WordPress dashboard, you’ll want to navigate to Appearance then click Customize.

Once you’ve opened your Customize menu, navigate to Site Identity.

Once you’ve opened the Site Identity section, navigate near the bottom to the section labeled Site Icon and click to upload your newly designed favicon.

On WordPress, you can edit your image after you’ve uploaded it. Click on your uploaded image and press Edit Image.
From there, you’ll be able to either crop, rotate, flip, or scale your image to your liking. You can also rename your image and add alt text— which is recommended for SEO reasons. Your alt text can be as simple as the official name of your website, so Google knows how to classify your favicon.
Once you’ve made all your changes, make sure you click Update to save all your new changes.

In your Customize menu, be sure you click Activate & Publish to save your changes. Almost immediately, you’ll be able to see your new favicon in your navigation tab. For your favicon to show up in search engine results it’ll take a few days as Google crawls your site.
#6 – How To Upload A Favicon Using A Plugin
Maybe you prefer uploading your favicon using a plugin. Before you upload any plugin, make sure it’s been updated to be compatible with the latest WordPress update.
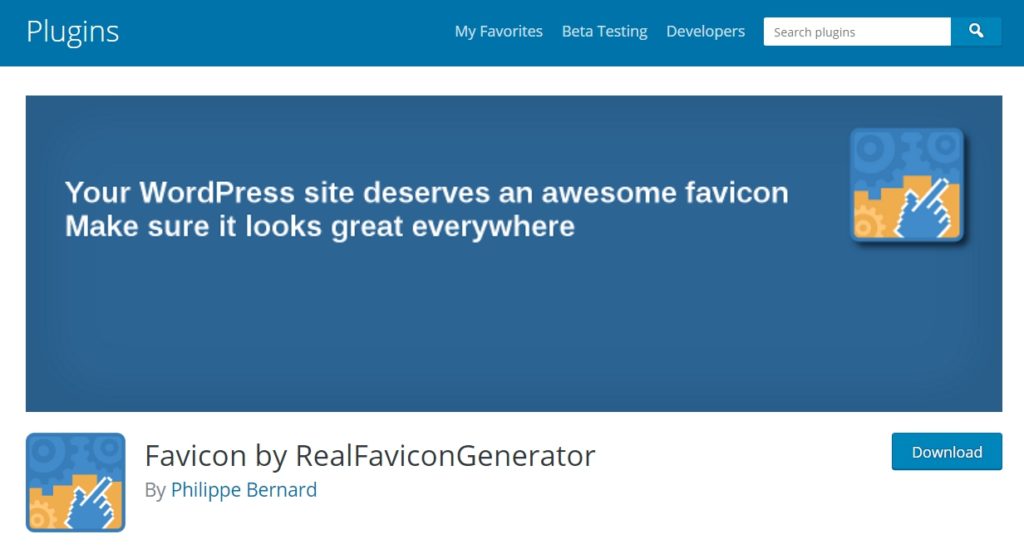
A great favicon upload plugin is the Favicon by RealFaviconGenerator. It allows you to have a little more control over how your favicon shows up on different devices and browsers.
If you don’t mind adding another plugin to your site, this can be a great way to upload and configure your WordPress favicon.
Once you’ve gone ahead and activated the plugin after you’ve installed it, from your dashboard navigate to Appearance then click Favicons.

Once there, you can select and upload your favicon once you click Select From The Media Library.
The plugin recommends you submit a square picture of at least 70 X 70 pixels. The ideal size it recommends is 260 X 260.
Once you’ve uploaded your favicon from the media library and hit Generate Favicon, you’ll be taken to the favicon website to further configure your file.
You’ll be met with a set of options to ensure your favicon will look good in all types of browsers. Let’s take a look at each:

Favicon for Desktop Browsers and Google Results Pages
Here you can configure your favicon by adding margins and a plain background. You also get the option of choosing the exact background color you want your favicon to have.
In this instance, we ensured the favicon we uploaded had a transparent background, so we don’t want to add a color background.
Favicon for iOS – Web Clip

Have you ever wondered what your favicon would look like if iPhone or iPad users pinned your website to their home screen? It ends up looking like an app, so you want to make sure you configure your favicon to look great once it’s saved.
To do this, you can either add a solid, plain background with a color of your choice or use the original favicon as is. In this instance, we decided to add a white background to our transparent PNG image.
Favicon for Android Chrome

It’s a similar process for configuring your favicon for Android Chrome. You can configure your favicon to have a solid background with a color of your choosing, and you can also apply a slight drop shadow to imitate the look of Google apps.
Windows Metro

Your favicon will also look different in Windows Metro. Windows 8 and 10 users can also pin your website to their desktop, which will include your favicon image.
You can leave your favicon as is, or you can change the background color or use a white silhouette version of the favicon.
macOS Safari

macOS relies on an SVG icon to generate a favicon for its MacBook Touch Bar feature. You can play around with the settings and either use the silhouette of your original image, turn your picture into a monochrome icon, or make Safari use the first letter of your domain name to create an icon. You can also change your theme color with your preferred hex code.
Favicon Generator Options

Finally, you can configure the plugin to override your old favicon if it’s been cached. Sometimes your cached favicon won’t update to your new changes. This feature allows you to ensure your favicon changes are all updated across the board.
Once you’ve configured the look of your favicon for every screen and browser, hit the Generate button. It’ll take it a minute to go back to your WordPress site, and you’ll be met with a success message. All done.
Next Steps
Adding a favicon to your website can add personality, strengthen your site’s brand, and help you stand out from the rest in bookmark bars and search engine results.
Thankfully, with this guide, adding a dynamic favicon that looks good in all instances is easy to do. Don’t forget to check out our blog for more WordPress insights.
We love writing about the best WordPress hosting deals out there, as well as ideas for your homepage design, and we love creating guides like this one, that will help you pick your site’s color palette.